During a recent business trip to Norway I was able to take a look at the real thing in the Vikingskiphuset in Oslo. Beautiful spring day, very few people, I only had a few hours to run through a whole set of museums (also the Fram museum, that could take a full day, what an undertaking!), taking pictures like a Japanese tourist and looking at them later. Anyways, I got a thick book in the museum store as well- everything you always wanted to know about vikings etc.
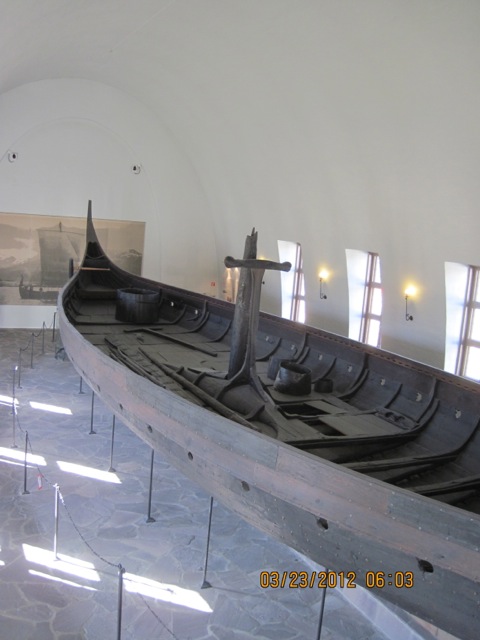
This is the Oseberg ship, looks a bit flimsy (more a show boat than a real war and trade vessel). But it had plenty of associated artifacts buried with it.
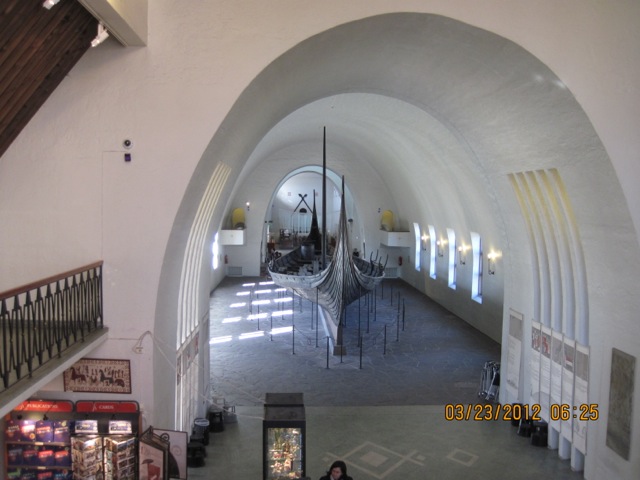
I took this photo in the back of the room, now I would like to know what it really was. Not the Oseberg but pretty close sizewise what I want to end up with.

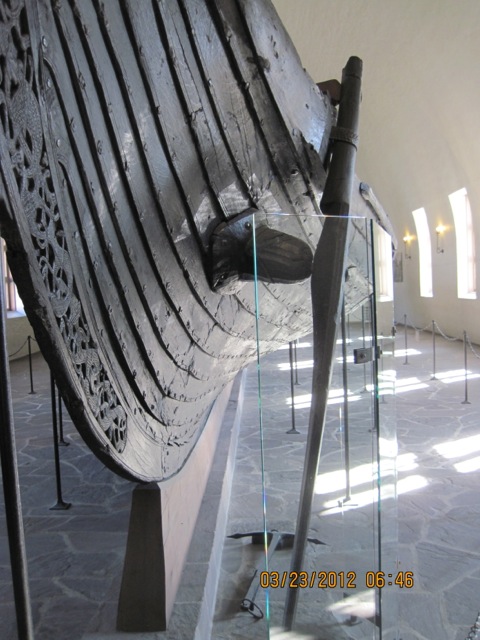
And here is the real thing: the Gokstad ship, about 100 years younger than the Oseberg – simply beautiful. Not even Apple could have made it better.
Now back to home to the trusty garage.
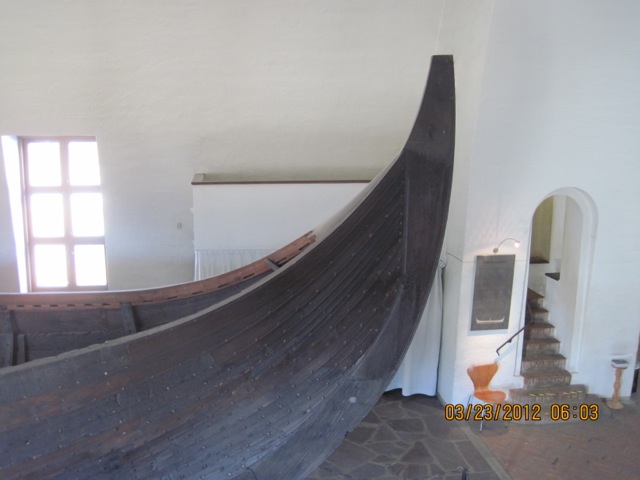
I had been playing with a model idea for quite some time and finally got to set it up. Even after reading all these books that I started collecting, there are quite a few puzzles hidden. Trying them in model scale first is always worth it. In particular the tapering of the planks is quite mysterious. As shown here from the real thing in Oslo, the planks are not straight at all at the ship’s ends (this is the Oseberg stern plus rudder, below is the Gokstad bow).
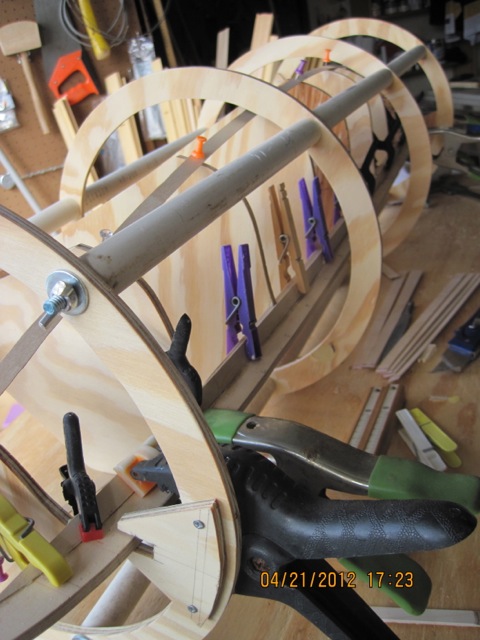
One early thought going round in my head was about handling of the hull. The shell is made in clinker / lapstrake fashion. Epoxy will be used sooner or later in the process and epoxy works great if being applied in the right orientation like ‘lying down’. So instead of setting up the keel on palls and ending up with a lot of over-head work, I plan on constructing this gigantic tube that allows arbitrary rotation of the hull. In model scale this is quite simple: Four rings with spacers in-between support the keel. The rings sit on rollers and the whole package rotates quite easily.
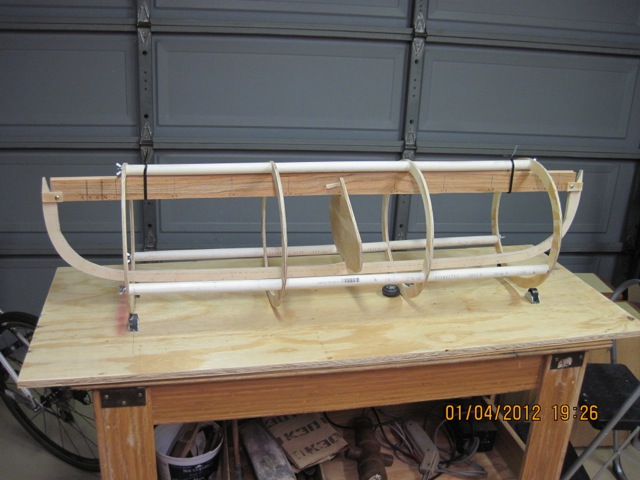
Full scale is going to be another issue – the spacer tubes are probably 6″ sewage pipes etc. etc. On the other hand, the tube will be easy to cover with a tarp and provide sun / rain protection. I had had fun with the Miniflower in that aspect.
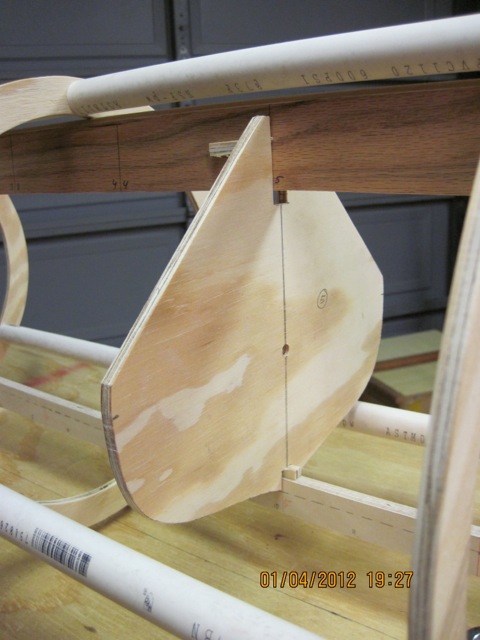
Here is the main section (frame 5) set up between keel and strong back. The dashed line on the upper side of the keel represents the rabbet, i.e. the first plank will rest in a notch that must be chiseled into the keel.
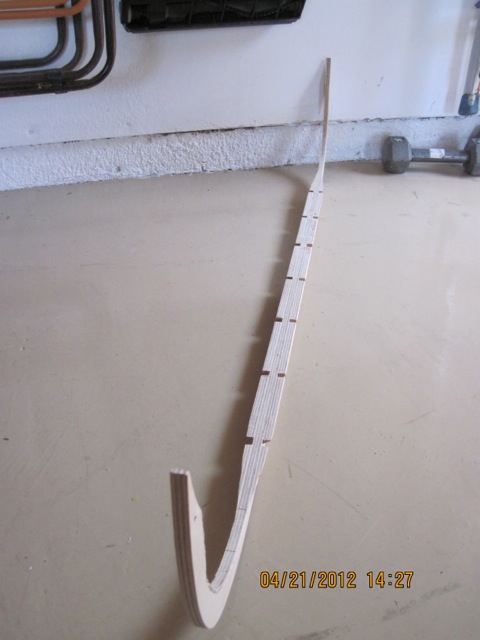
The keel shown here is cut from a single sheet of plywood, scale 1:10. For the real size I think about using 2″ x 6″ or 2″ x 8″ stock, epoxied together and cut to shape. Timbers sawn to the chamfer at the side of the keel will be epoxied on as well. An application of the ‘ship saw’ (almost like my experience with San Salvador’s futtocks).
For my model, I glued small plywood blocks with cutouts for the moulds and planed / sanded them down to the right angles.
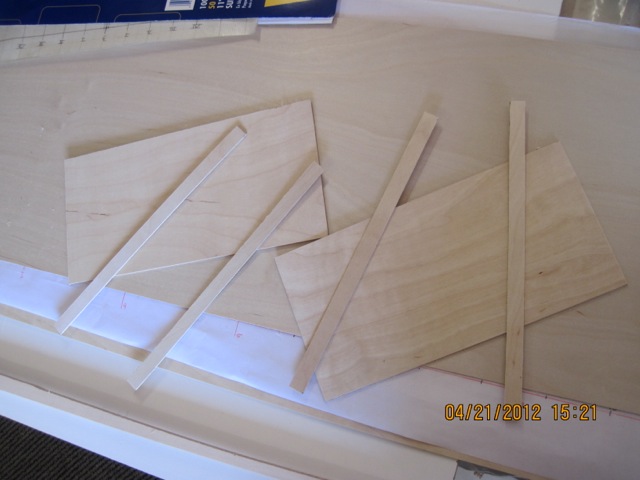
The hull will be made from 1/2″ plywood – this comes in sheets 4′ x 8′. I bought some aircraft model plywood that has about the right thickness (1.5 mm). To stay within scale, I cut model panels of 122 x 244 mm as a starting material – very convenient with a sharp knife. Most planks will have a maximum width of 120 mm so shown here are a few of these plank starters as well. The planks will be scarfed with a 4 :1 ratio to handle the overlaps.
And finally, all moulds are set up in the turning cradle, two temporary battens mounted to keep the moulds properly spaced. Show here is the first garboard strake – starboard side. Glued with Elmer’s glue and kept in place with most of my clamps.
The rabbet was cut with a Dremel and a sharp knife – this is where I do not yet claim true mastery of craftsmanship. But if I get the hang of it through building the model, the full size ship will be even nicer.
To be continued.